Bathroom sinks are essential fixtures in every home. They play a vital role in daily routines, from washing hands to brushing teeth. With various styles and materials available, choosing the right sink for your bathroom is just the beginning. Proper installation and ongoing maintenance are crucial for ensuring your sink functions effectively for years to come. This article provides a comprehensive guide to bathroom sinks installation, maintenance, and troubleshooting.
Understanding Bathroom Sink Types
Types of Sinks Available
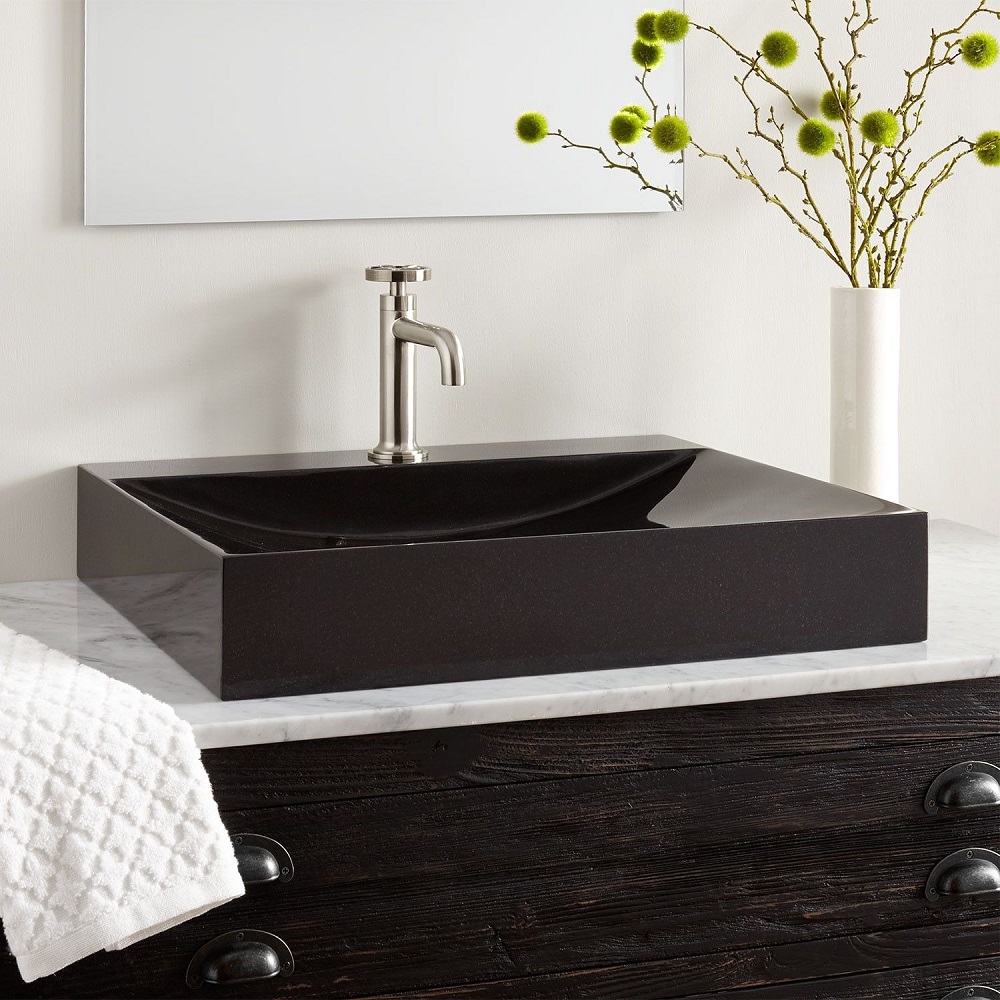
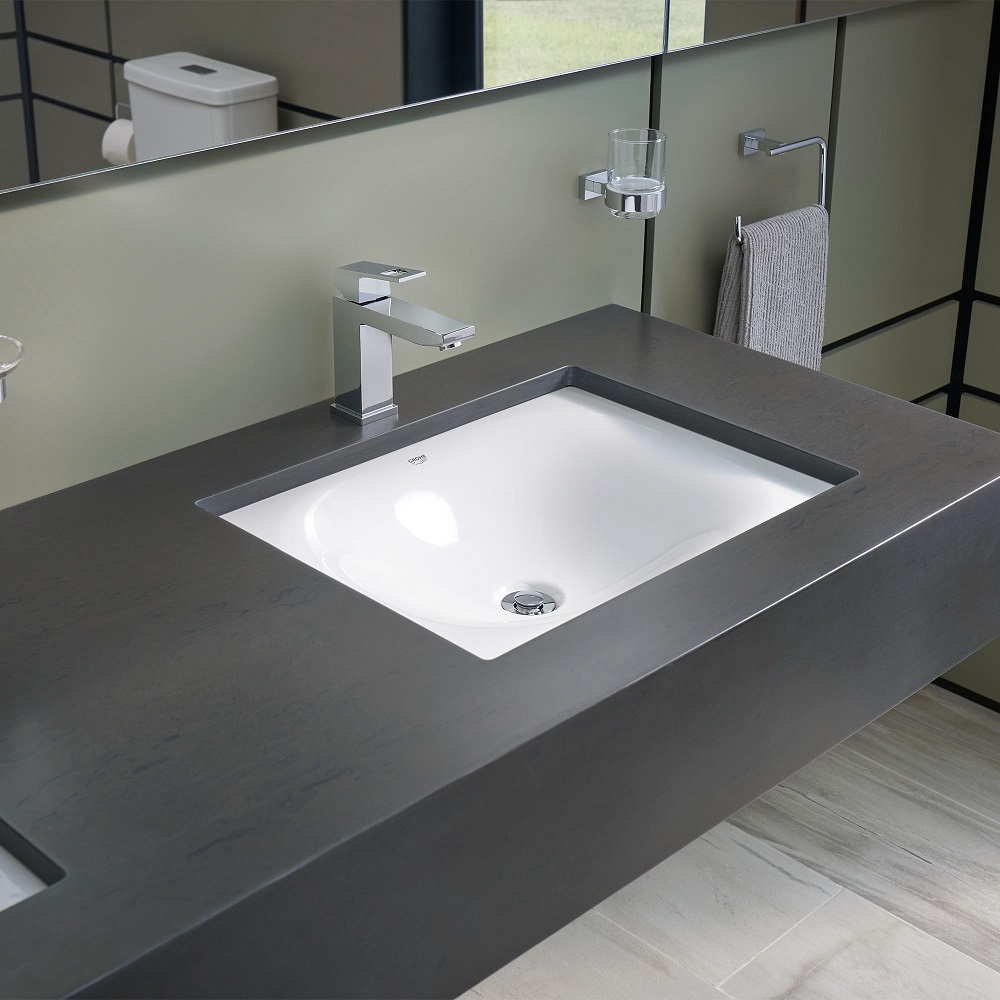
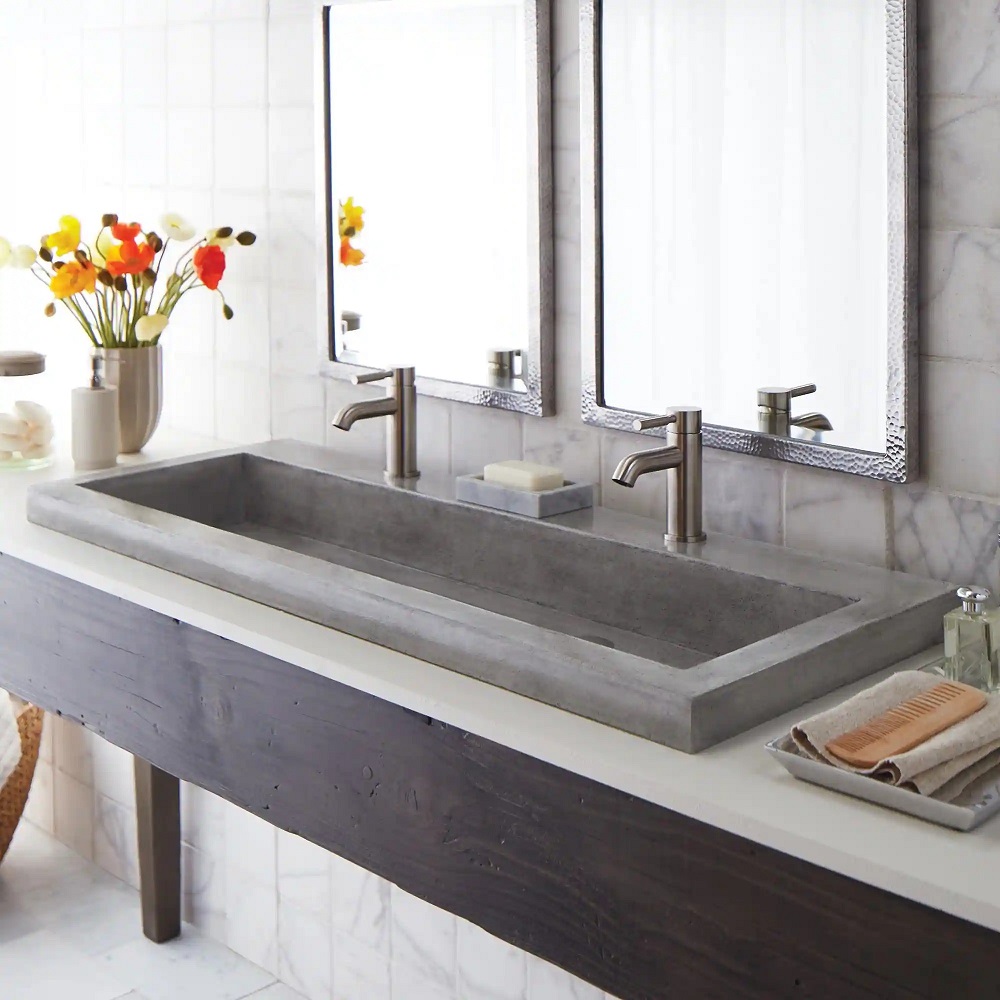
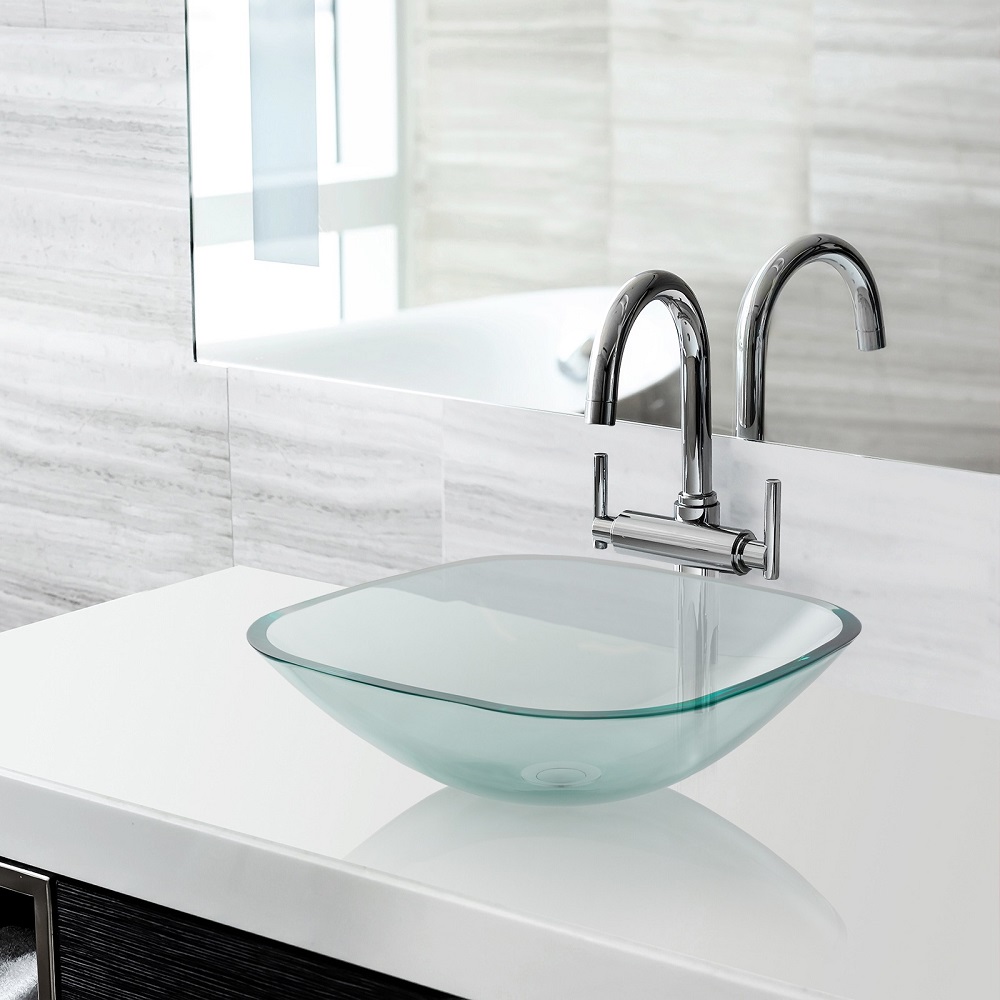
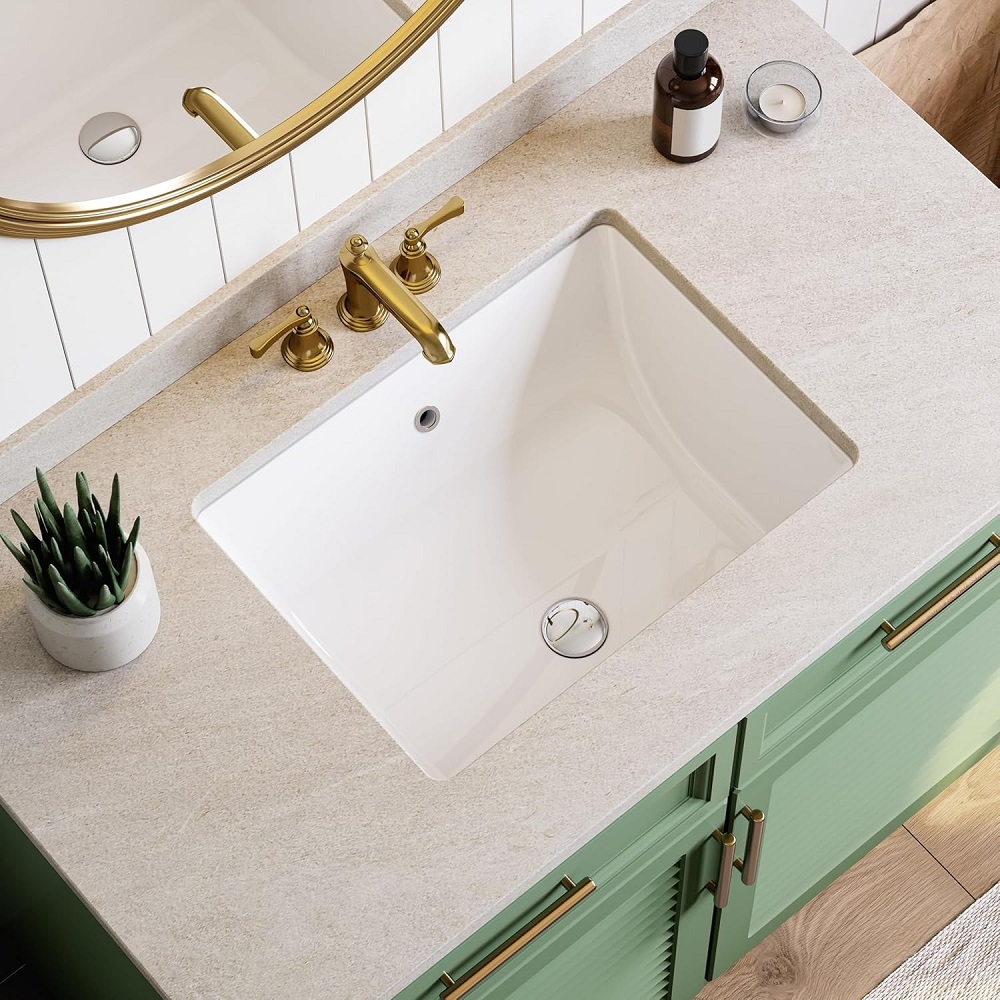
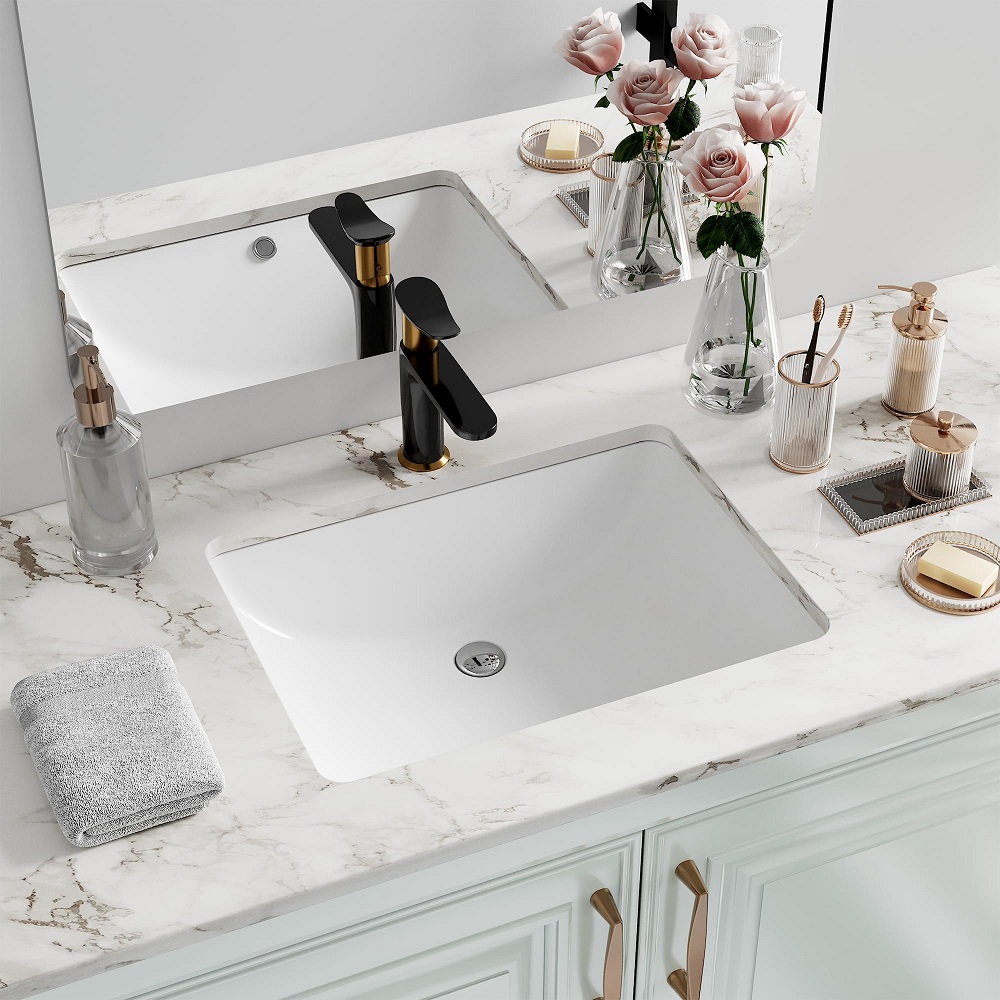
When choosing a bathroom sink, it is essential to understand the different types available. The most common types include pedestal sinks, vessel sinks, undermount sinks, and console sinks. Each has its unique design and functionality. Pedestal sinks offer a classic look with a separate basin and support. Vessel sinks sit atop countertops, providing a stylish focal point. Undermount sinks are installed beneath the countertop, creating a sleek appearance. Console sinks feature an open design with legs or supports, providing a vintage vibe.

Material Options
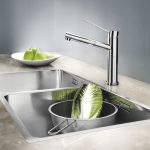
The material of your bathroom sink significantly impacts its durability and appearance. Common materials include porcelain, stainless steel, glass, and granite. Porcelain sinks are popular for their classic look and easy maintenance. Stainless steel sinks are durable and resistant to stains. Glass sinks offer a modern aesthetic and can be quite striking when designed well. Granite sinks provide a luxurious touch, but they require more maintenance to prevent staining.
Choosing the Right Sink
When selecting a bathroom sink, consider factors like size, style, and functionality. The sink should complement your bathroom’s overall design while meeting your practical needs. If your bathroom is small, a pedestal or vessel sink may save space. In contrast, larger bathrooms may accommodate more elaborate designs. Always measure the space you have available to ensure a proper fit.
Preparing for Installation
Gather Necessary Tools
Before starting the installation process, gather all necessary tools and materials. You will typically need tools such as a adjustable wrench, screwdrivers, a plumber’s putty knife, level, and tape measure. Having everything ready will facilitate a smoother installation process. It’s important to follow the manufacturer’s instructions specific to your chosen sink model, which will guide you through the necessary steps.
Read the Instructions
Always begin by reading the manufacturer’s installation instructions carefully. Different sink types and brands may have unique installation requirements. Following the instructions closely will help avoid complications. If you’re unsure about specific steps, consider consulting a professional plumber for guidance.
Prepare the Bathroom Space
Before installation begins, prepare the bathroom space. Turn off the water supply and disconnect existing plumbing fixtures. Remove the old sink if installing a replacement. Clean the area where the new sink will be placed, ensuring that it is free from debris and grime. Having a clean workspace will help avoid problems during installation.
Installation Steps for Bathroom Sinks
Step 1: Installing the Faucet
Before mounting the sink, it’s often easier to install the faucet first. Follow the manufacturer’s instructions for the faucet being used. Position the faucet according to the sink design, typically at the rear of the bowl for easy access. Secure it in place using the provided hardware. Check that the faucet is aligned correctly and functions as intended before continuing.
Step 2: Setting the Sink
Once the faucet is installed, it’s time to set the sink in place. If you are using an undermount sink, apply silicone adhesive to the edges where the sink will meet the countertop. Carefully position the sink and press down gently to ensure a tight seal. For vessel sinks, place the sink on the countertop and ensure it is level. Adjust as necessary using spacers.
Step 3: Connecting Plumbing Fixtures
After the sink is secured, it’s time to connect the plumbing fixtures. For standard sinks, this involves attaching the drain assembly to the sink and the trap to the wall outlet. Ensure that all connections are tight to prevent leaks. For vessel sinks, connect the faucet and drainage to the appropriate fittings. Always check for compatibility with existing plumbing.
Step 4: Sealing the Edges
To prevent water from seeping under the sink, use silicone caulk around the edges. Apply a thin bead of caulk around the perimeter where the sink meets the countertop. Smooth the caulk with a finger or caulking tool to ensure a neat finish. Allow the caulk to cure as directed, usually for at least 24 hours, before using the sink.
Post-Installation Checks
Testing for Leaks
Once everything is installed, turn the water supply back on and test the sink for leaks. Run the faucet and check all connections for dripping water. A leak can lead to damage over time, so addressing any issues immediately is crucial. If leaks are detected, turn off the water supply and tighten connections or reapply sealant as necessary.
Ensuring Proper Drainage
Make sure the sink drains properly. Fill the basin with water and then release it to observe the flow. If the water does not drain quickly, there may be an obstruction or a problem with the plumbing installation. Inadequate drainage could lead to standing water and potential plumbing issues.
Final Finish Work
After checking for leaks and ensuring proper drainage, complete any necessary finishing touches. This may include attaching any decorative elements, securing the sink’s screws, or performing additional cleaning. Ensure the area around the sink is tidy and presentable.
Maintenance of Bathroom Sinks
Regular Cleaning Practices
Maintaining your bathroom sink is essential for overall hygiene and appearance. Regularly clean the sink with mild soap and warm water. Avoid using harsh chemicals or abrasive cleaners that could damage the sink material. For stubborn stains, consider using a soft cloth or sponge combined with baking soda for gentle scrubbing.
Addressing Hard Water Stains
If your sink develops hard water stains, there are simple solutions to eliminate them. Use vinegar or a mixture of vinegar and water to dissolve the mineral buildup. Soak a cloth in the solution and apply it to the affected areas, allowing it to sit for a few minutes before wiping clean. This method helps maintain the sink’s appearance.
Routine Inspections
Conduct routine inspections of your sink to identify any potential issues. Check for loose fittings, cracks, or signs of wear. Pay attention to the caulking around the sink; if it appears cracked or worn, reapply silicone sealant as necessary to prevent leaks. Addressing small problems before they escalate can save you time and money.
Common Issues and Solutions
Clogged Drains
Clogged drains are a common issue in bathroom sinks. Hair, soap, and other debris can accumulate over time, leading to blockages. To prevent clogs, consider using a drain strainer to catch hair and debris. If you encounter a clog, try using a plunger or a drain snake to dislodge the blockage. Regular maintenance can help avoid severe clogging issues.
Running Water
If your faucet continues to run or drip after shutting it off, you may have a worn-out cartridge or washer. This issue can often be resolved by replacing the faulty parts. Ensure the water supply is turned off before disassembling the faucet. Consult the manufacturer’s instructions for specific guidance on replacing parts and fixing leaks.
Sinking Odors
Unpleasant odors from the sink can result from stagnant water or food debris trapped in the drain. To eliminate odors, try running hot water through the drain with lemon slices or baking soda. This will help freshen the smell and prevent buildup. If the problem persists, consider also cleaning the P-trap, as odors can build up in that area.
FAQ:
- How do I install a bathroom sink?
- The installation steps generally include turning off the water supply, removing the old sink if applicable, assembling the new sink according to the manufacturer’s instructions, connecting the drain and plumbing, and securing the sink in place. It’s important to ensure all connections are tight to prevent leaks.
- What tools do I need for bathroom sink installation?
- Common tools needed for installation include a basin wrench, adjustable wrench, plumber’s tape, silicone caulk, and a screwdriver. Ensure you have all necessary materials such as the sink, faucet, drainage pipes, and any connectors required for your specific setup.
- How do I maintain my bathroom sink?
- To maintain your bathroom sink, regularly clean it with gentle, non-abrasive cleaners to avoid scratching the surface. For specific materials (like stainless steel or porcelain), use appropriate cleaning solutions and avoid harsh chemicals. Check for leaks and ensure the drain remains clear.
- What can I do if my bathroom sink is draining slowly?
- If your sink drains slowly, check for clogs in the drain trap or use a plunger to dislodge blockages. You can also use a mixture of baking soda and vinegar followed by hot water to help clear minor clogs. If problems persist, consider disassembling the plumbing to inspect for deeper clogs.
- How do I choose the right bathroom sink for my space?
- When choosing a bathroom sink, consider factors like size, style, and your bathroom’s layout. Measure available space to ensure the sink fits and complements the overall design. Think about functionality as well—whether you need extra countertop space or storage options.
Conclusion
Choosing and installing the right bathroom sink is an essential part of home improvement. Understanding the types of sinks available and how to select the best one for your needs will enhance your overall bathroom experience. Proper installation and maintenance are critical for ensuring longevity and functionality.
Explore Options Carefully
As you consider different sink styles and materials, take the time to think about your needs and preferences. Assess your existing bathroom design and choose a sink that complements it. Balancing aesthetics with function will lead to a more satisfying result.
Invest in Quality
Investing in a quality sink may come with a higher initial cost, but it can pay off in the long run. A well-made sink will last longer and require less maintenance. Consider reputable brands known for their quality materials and craftsmanship.
Enjoy Your Bathroom Space
Ultimately, a well-chosen bathroom sink enhances both functionality and beauty. Enjoy the utility that your new sink brings to daily routines, and make sure to incorporate bathroom sinks maintenance tips for longevity. Embrace its role as a centerpiece in your bathroom and take pride in maintaining it over the years. A well-maintained sink contributes to a positive atmosphere in your home.