Getting Started with How to Make Friendship Bracelets with Beads
Why This Craft Is Perfect for All Ages
Learning how to make friendship bracelets with beads is a joyful and creative activity. It suits children, teens, and adults alike. Kids enjoy the bright colors and simple steps. Teens use it to express style and bond with friends. Adults find it relaxing and mindful during free time. The process brings people together through shared effort.
This craft also builds fine motor skills and focus. Stringing tiny beads improves hand-eye coordination. Choosing patterns encourages planning and patience. Many schools and camps include it in art programs. Whether done solo or in groups, the experience feels rewarding. Making something beautiful by hand creates lasting satisfaction.
What Makes Beaded Friendship Bracelets Special
Friendship bracelets made with beads carry more meaning than plain string versions. Each bead can represent a memory, emotion, or inside joke. Some use birthstone colors to honor individual friends. Others pick shades that match favorite songs or places. These personal choices deepen emotional value.
Beads also add texture and durability. Unlike embroidery floss that may fray, glass or plastic beads last longer. They reflect light beautifully when worn. Dangling charms or letter beads spell names or short messages. These small details turn simple jewelry into cherished keepsakes. Learning how to make friendship bracelets with beads means creating gifts full of heart.
 Essential Supplies You’ll Need
Choosing the Right Beads
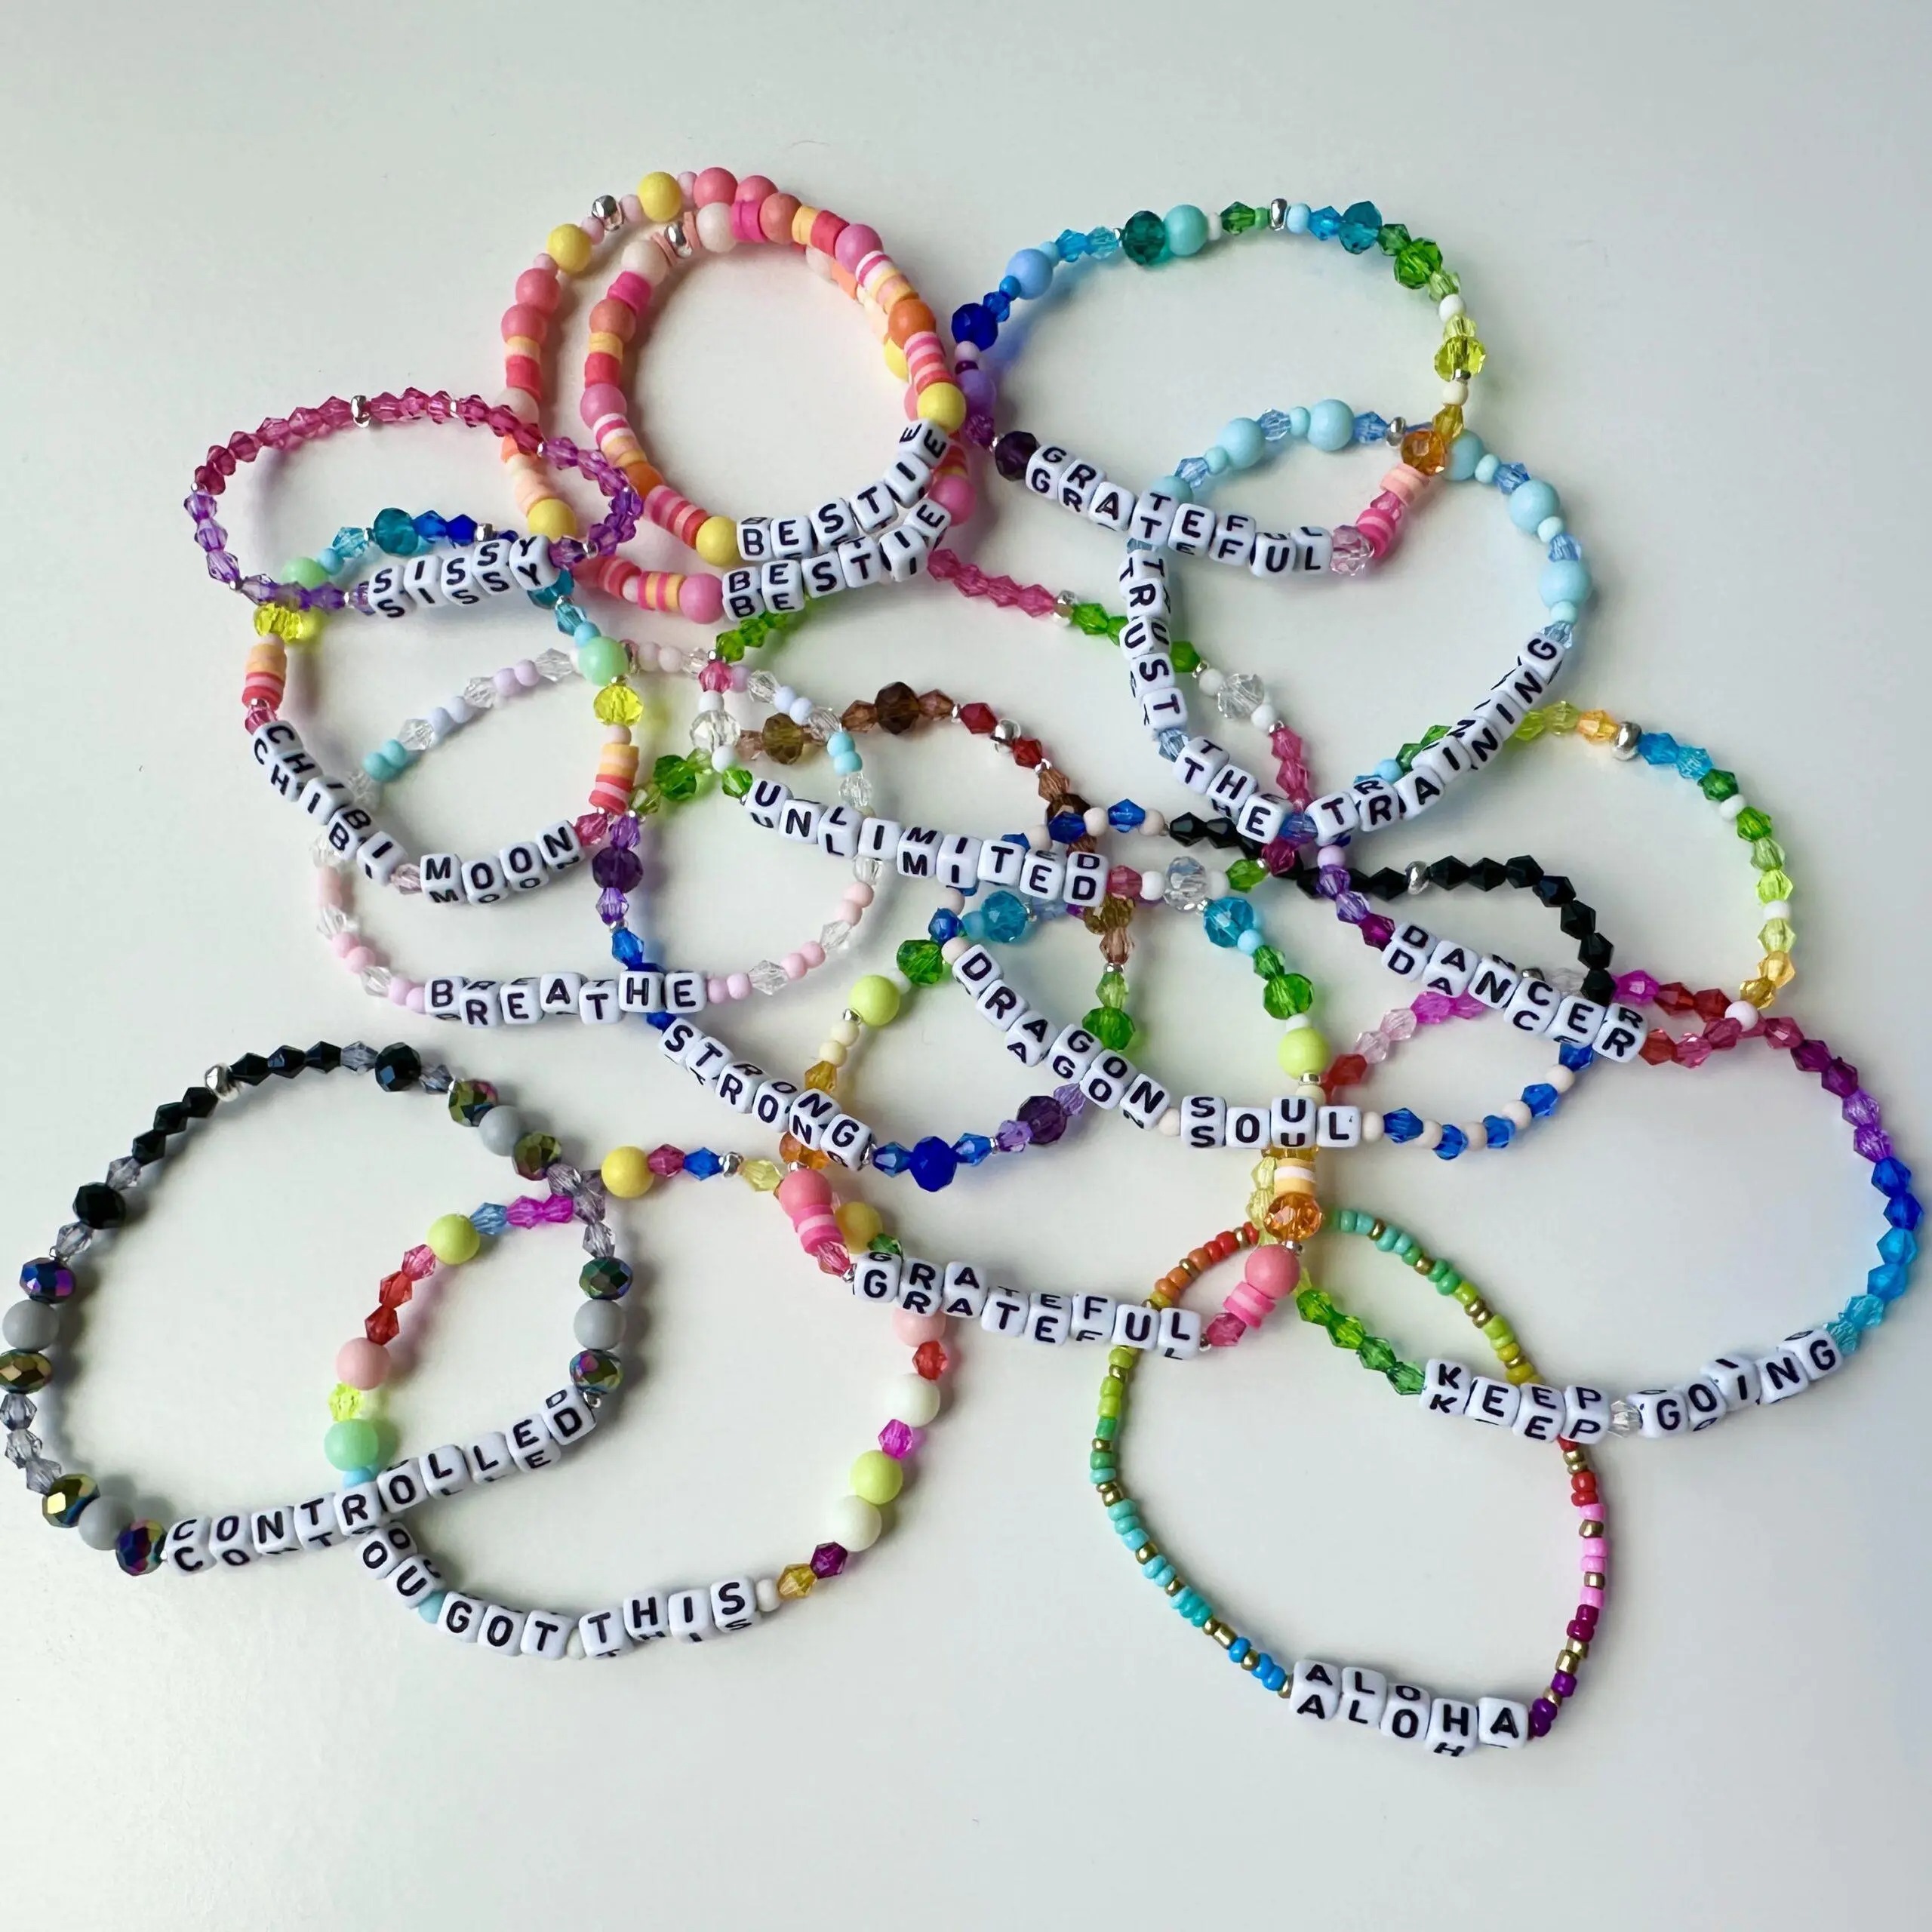
Selecting beads is the first step in learning how to make friendship bracelets with beads. Glass beads shine brightly and come in many shapes. Round, cube, and star-shaped options offer variety. Plastic pony beads are lightweight and budget-friendly. They work well for kids’ projects or large batches.
Seed beads are smaller and ideal for detailed designs. Metal beads add weight and elegance. Wooden beads bring a natural, earthy feel. Mix materials for contrast and interest. Always check hole size before buying. The thread must pass through easily without snagging. Having extra beads on hand prevents mid-project shortages.
Selecting Thread, Cord, and Tools
The base material holds everything together. Nylon thread is strong and smooth. Stretchy elastic cord works for bangle-style bracelets. Waxed cotton cord adds grip and structure. Choose thickness based on bead holes and desired finish. Thicker cords suit larger beads and bold looks.
You will also need scissors, glue, and clasps if needed. Scissors should be sharp for clean cuts. Fabric glue secures knots and prevents unraveling. Clasps like lobster hooks help with fastening. Jump rings allow charm attachments. A bead mat keeps pieces from rolling away. Organizing tools makes the process smoother and faster.
 Step-by-Step Instructions for Beginners
Preparing Your Workspace and Materials
Before you begin how to make friendship bracelets with beads, set up a tidy workspace. Use a flat surface like a table or desk. Place a non-slip mat underneath to avoid messes. Lay out all supplies within easy reach. Group beads by color or type for quick access.
Cut your cord or thread to the right length. Add six inches beyond wrist size for tying. Double-check bead compatibility with the string. Test one bead first to confirm fit. Label containers if using multiple colors. Keep glue and scissors nearby but safe from spills. A calm environment helps maintain focus and creativity.
Stringing the First Few Beads
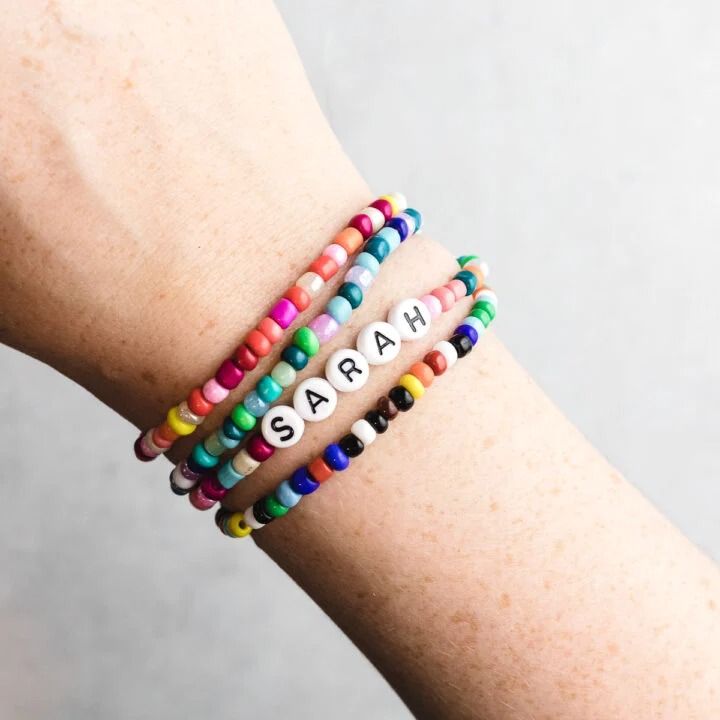
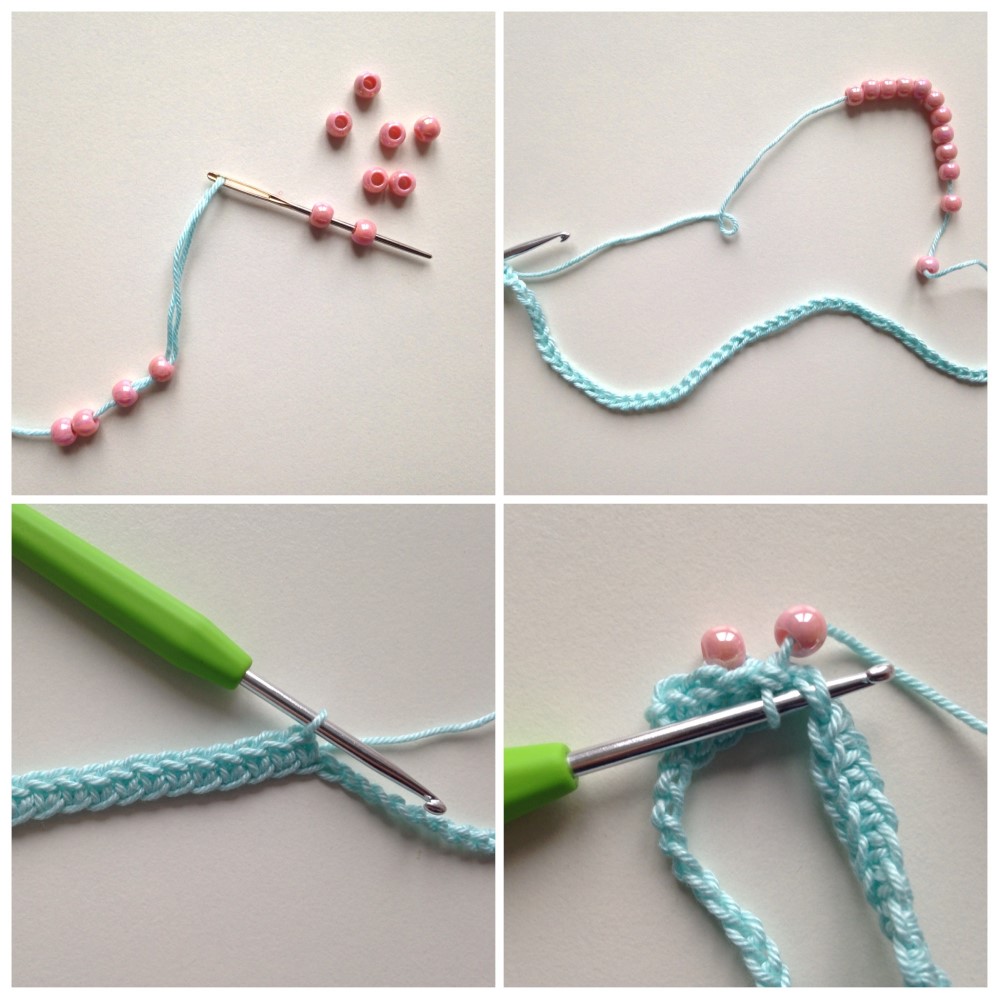
Start by threading the cord through a clasp or tying a knot. If making a stretchy bracelet, tie a secure knot at one end. Slide on the first bead slowly. Push it down gently toward the knot. Continue adding beads in your chosen pattern. Alternate colors for visual rhythm.
Use a mental or written guide to track the sequence. For example, red-blue-red-green repeats every four beads. Pause often to check progress. Hold the bracelet against your wrist to test length. Stop when it wraps comfortably around the wrist once. Leave enough room to tie off the other end securely. Patience ensures even spacing and balance.
Creative Patterns and Design Ideas
Simple Alternating and Symmetrical Layouts
One of the easiest ways to learn how to make friendship bracelets with beads is with alternating patterns. Try two colors in a steady rhythm like pink-white-pink-white. This creates a clean, balanced look. It works well for beginners who want quick results.
Symmetrical designs build outward from the center. Place a special bead in the middle. Then mirror colors on both sides. For instance, yellow-orange-center-orange-yellow forms harmony. These layouts feel intentional and polished. They impress recipients while being simple to assemble.
Themed and Seasonal Combinations
Themed bracelets add fun to gift-giving. Use red and green beads for Christmas presents. Pastel pinks and blues suit baby showers. School colors strengthen team spirit among friends. Holiday themes like Halloween or Valentine’s Day inspire playful styles.
Seasonal changes also influence design. Summer calls for ocean blues, sandy tans, and sunburst yellows. Autumn features rust, mustard, and deep green. Winter leans into silver, white, and icy blue. Spring blooms with floral pinks and fresh greens. Aligning your how to make friendship bracelets with beads project with the time of year increases relevance and joy.
 Adding Personal Touches and Messages
Using Letter Beads for Names and Words
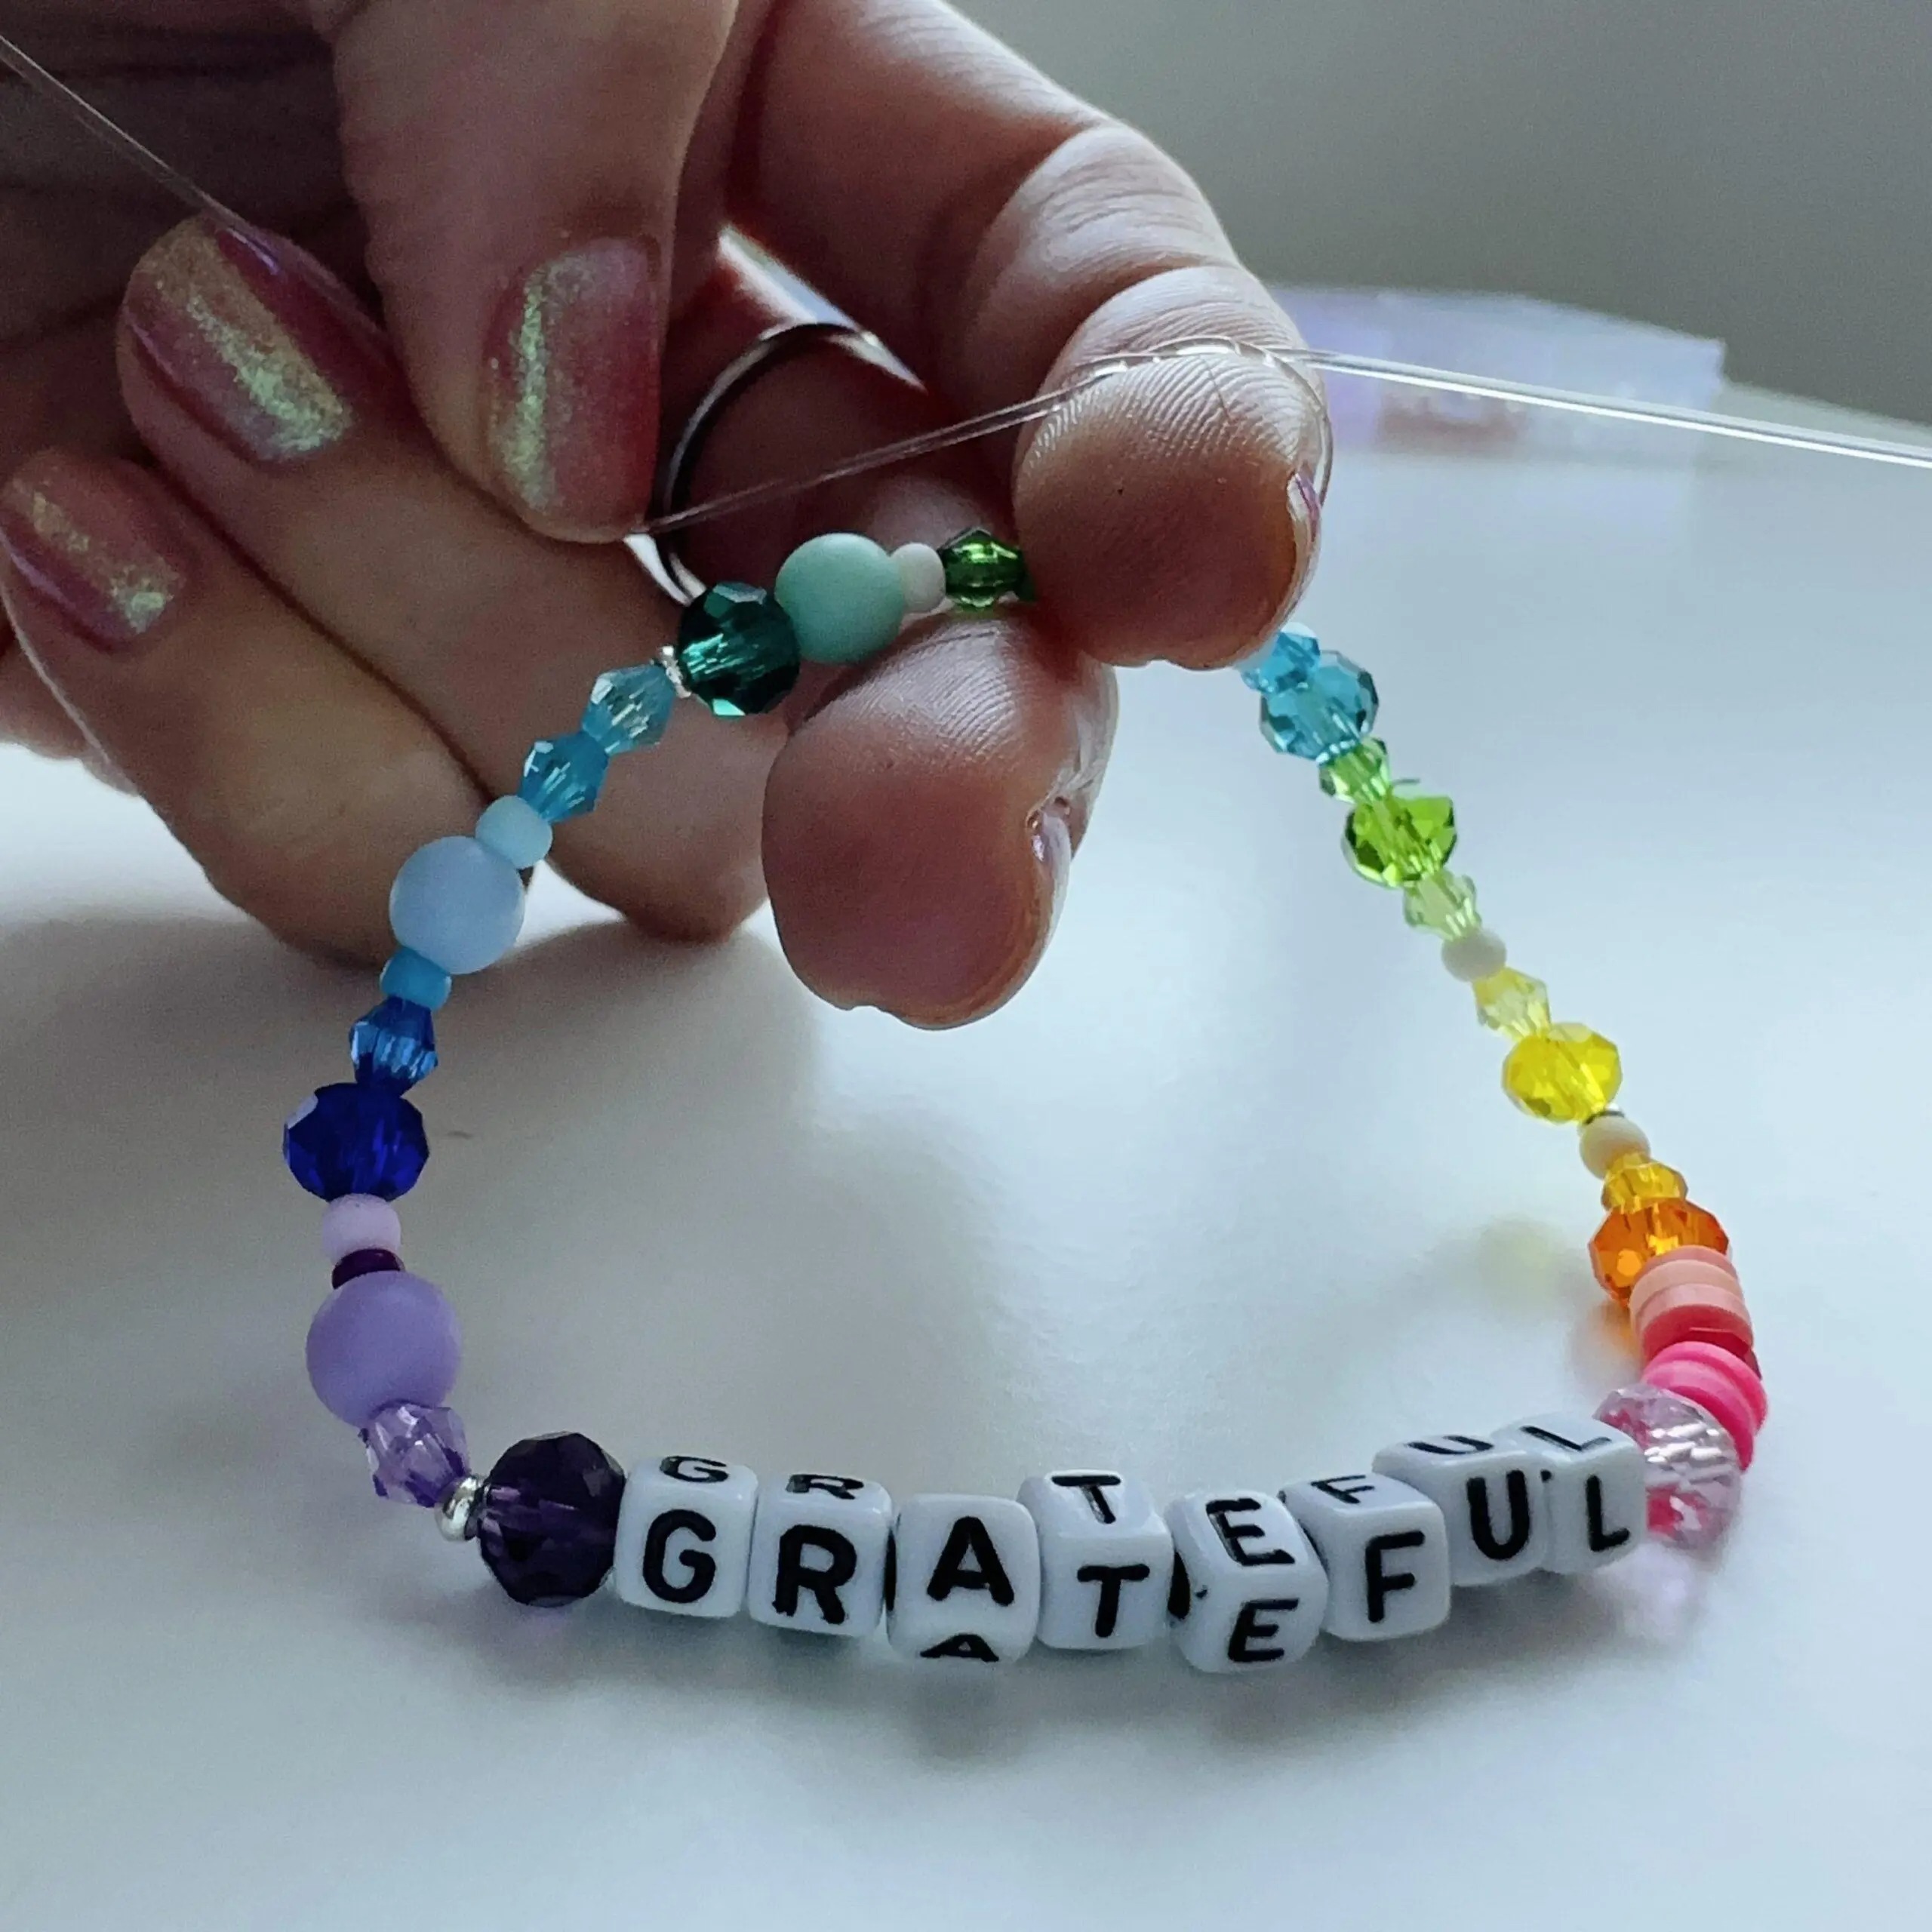
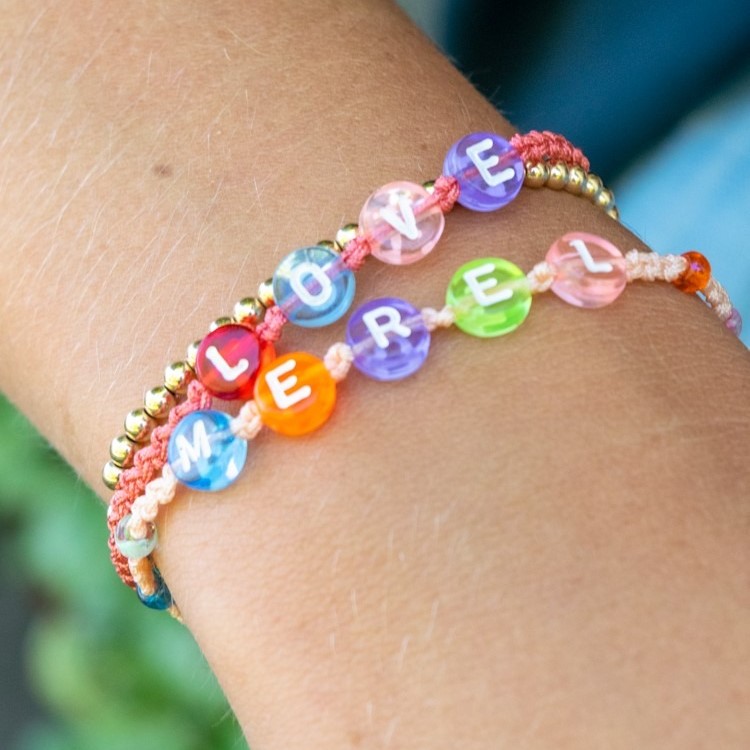
Personalization elevates any bracelet. Letter beads spell names, nicknames, or short phrases. “Bestie,” “Love,” or “Forever” convey clear emotions. Spacing them with spacers or small round beads improves readability.
Try meaningful acronyms like BFF or OMG for humor. Include initials for couples or siblings. Teachers might add student names as tokens. Parents love wearing their children’s names close. These messages stay private yet powerful. Learning how to make friendship bracelets with beads becomes storytelling through color and text.
Incorporating Charms and Symbolic Elements
Charms add depth and movement. Hearts stand for love and care. Stars represent dreams and guidance. Animal shapes reflect personality traits like courage or playfulness. Attach them with jump rings for easy switching.
Birthstone beads link to months and identity. Lucky symbols like horseshoes or four-leaf clovers bring positivity. Religious icons such as crosses or hamsas offer protection. Mix several for layered meaning. Even temporary charms can mark events like graduations. These elements transform basic bracelets into wearable memories.
Tips for Durability and Comfort
Securing Knots and Preventing Fraying
Strong knots ensure your bracelet lasts. After stringing, tie a double or triple knot at the end. Apply a drop of fabric glue to lock it in place. Let it dry completely before wearing. Avoid pulling too hard, which may break thin threads.
For stretchy cords, overlap the ends before tying. Hide knots inside a final bead if possible. Trim excess string closely after glue sets. Inspect regularly for signs of wear. Re-glue loose ends early to prevent total unraveling. Proper finishing turns handmade items into long-term treasures.
Ensuring a Comfortable Fit
Fit affects both comfort and appearance. Measure the wrist before starting. Add one inch for ease of movement. Too tight causes irritation. Too loose risks falling off during activity. Test the fit midway through stringing. Adjust length before finalizing.
Choose lightweight beads for all-day wear. Heavy metal or stone pieces may tire the wrist. Smooth edges prevent skin scratches. Flexible cords bend naturally with motion. Avoid bulky clasps that dig into the skin. A well-fitted bracelet feels like a second skin.
 Where to Find Inspiration and Share Creations
Social Media and Online Communities
Social media fuels new ideas for how to make friendship bracelets with beads. Instagram hashtags like #BeadedBracelet or #DIYJewelry reveal thousands of examples. Pinterest boards collect step-by-step guides and color palettes. TikTok videos demonstrate techniques in seconds.
YouTube tutorials walk viewers through full projects. Live streams answer questions in real time. Facebook groups connect hobbyists worldwide. Reddit threads discuss best suppliers and troubleshooting tips. Digital platforms inspire creativity beyond limits. Anyone can start crafting after seeing just one post.
Craft Fairs and Gift Exchanges
In-person events offer hands-on inspiration. Craft fairs host vendors selling unique beads and tools. Attendees watch live demonstrations. Workshops teach advanced methods like weaving or loom work. Meeting artisans builds confidence in quality choices.
Gift exchanges encourage sharing. Schools, offices, and clubs organize bracelet swaps. Participants bring handmade pieces anonymously. Others guess who made each one. These activities strengthen bonds and spark joy. Sharing creations multiplies happiness.
Frequently Asked Questions
What Age Is Best for This Activity?
Children as young as five can start learning how to make friendship bracelets with beads. Simple patterns with large beads work best. Adult supervision ensures safety with scissors and small parts. Schools often introduce it in art class around ages 7–9.
Teens enjoy complex designs and trendy styles. They trade bracelets with friends frequently. Adults use it for mindfulness or gifting. Seniors find it therapeutic and engaging. All ages benefit from the creative and social aspects. It’s truly a lifelong hobby.
Can I Wash a Beaded Friendship Bracelet?
It’s best to remove the bracelet before washing hands or showering. Water weakens glue and stretches elastic cords. Soap residue builds up in crevices and dulls shine. Sweat may tarnish certain metals over time.
If cleaning is necessary, wipe gently with a damp cloth. Use mild soap only when needed. Rinse quickly and air-dry completely. Never machine wash or soak for long periods. Preventive removal preserves longevity and appearance.
How Long Does It Take to Finish One?
Simple designs take 15 to 30 minutes. Projects with fewer beads and basic patterns go faster. Complex layouts with many colors or charms may require an hour or more. Experience reduces time significantly.
First attempts usually take longer due to learning curves. Mistakes happen but are fixable. Break the process into steps if needed. Enjoyment matters more than speed. With practice, you’ll complete how to make friendship bracelets with beads projects quicker.
Are There Waterproof Options Available?
Yes, some materials handle water better. Stainless steel, glass, and plastic beads resist moisture. Nylon thread dries fast and stays strong. Avoid porous wood or paper beads near water. Sealed resin charms won’t crack easily.
Elastic cords lose elasticity when wet repeatedly. Wax-coated strings hold up better. Remove before swimming or heavy cleaning. Even waterproof options benefit from caution. Smart choices ensure your bracelet survives daily life.
 Conclusion
Learning how to make friendship bracelets with beads opens a world of creativity and connection. It combines art, emotion, and skill in one simple craft. From choosing beads to tying the final knot, each step brings joy. The result is not just jewelry—it’s a symbol of care and thought.
These bracelets suit all ages and occasions. They make heartfelt gifts for birthdays, holidays, or just because. Custom names, colors, and charms deepen personal meaning. Sharing them strengthens friendships and spreads kindness.
Whether made alone or with loved ones, the process fosters presence and mindfulness. It teaches patience, planning, and pride in creation. With endless design possibilities, no two bracelets are ever the same. For anyone seeking meaningful, handmade expression, knowing how to make friendship bracelets with beads is a gift that keeps giving.